


25 Jun TIVA Talks: Program Finishing
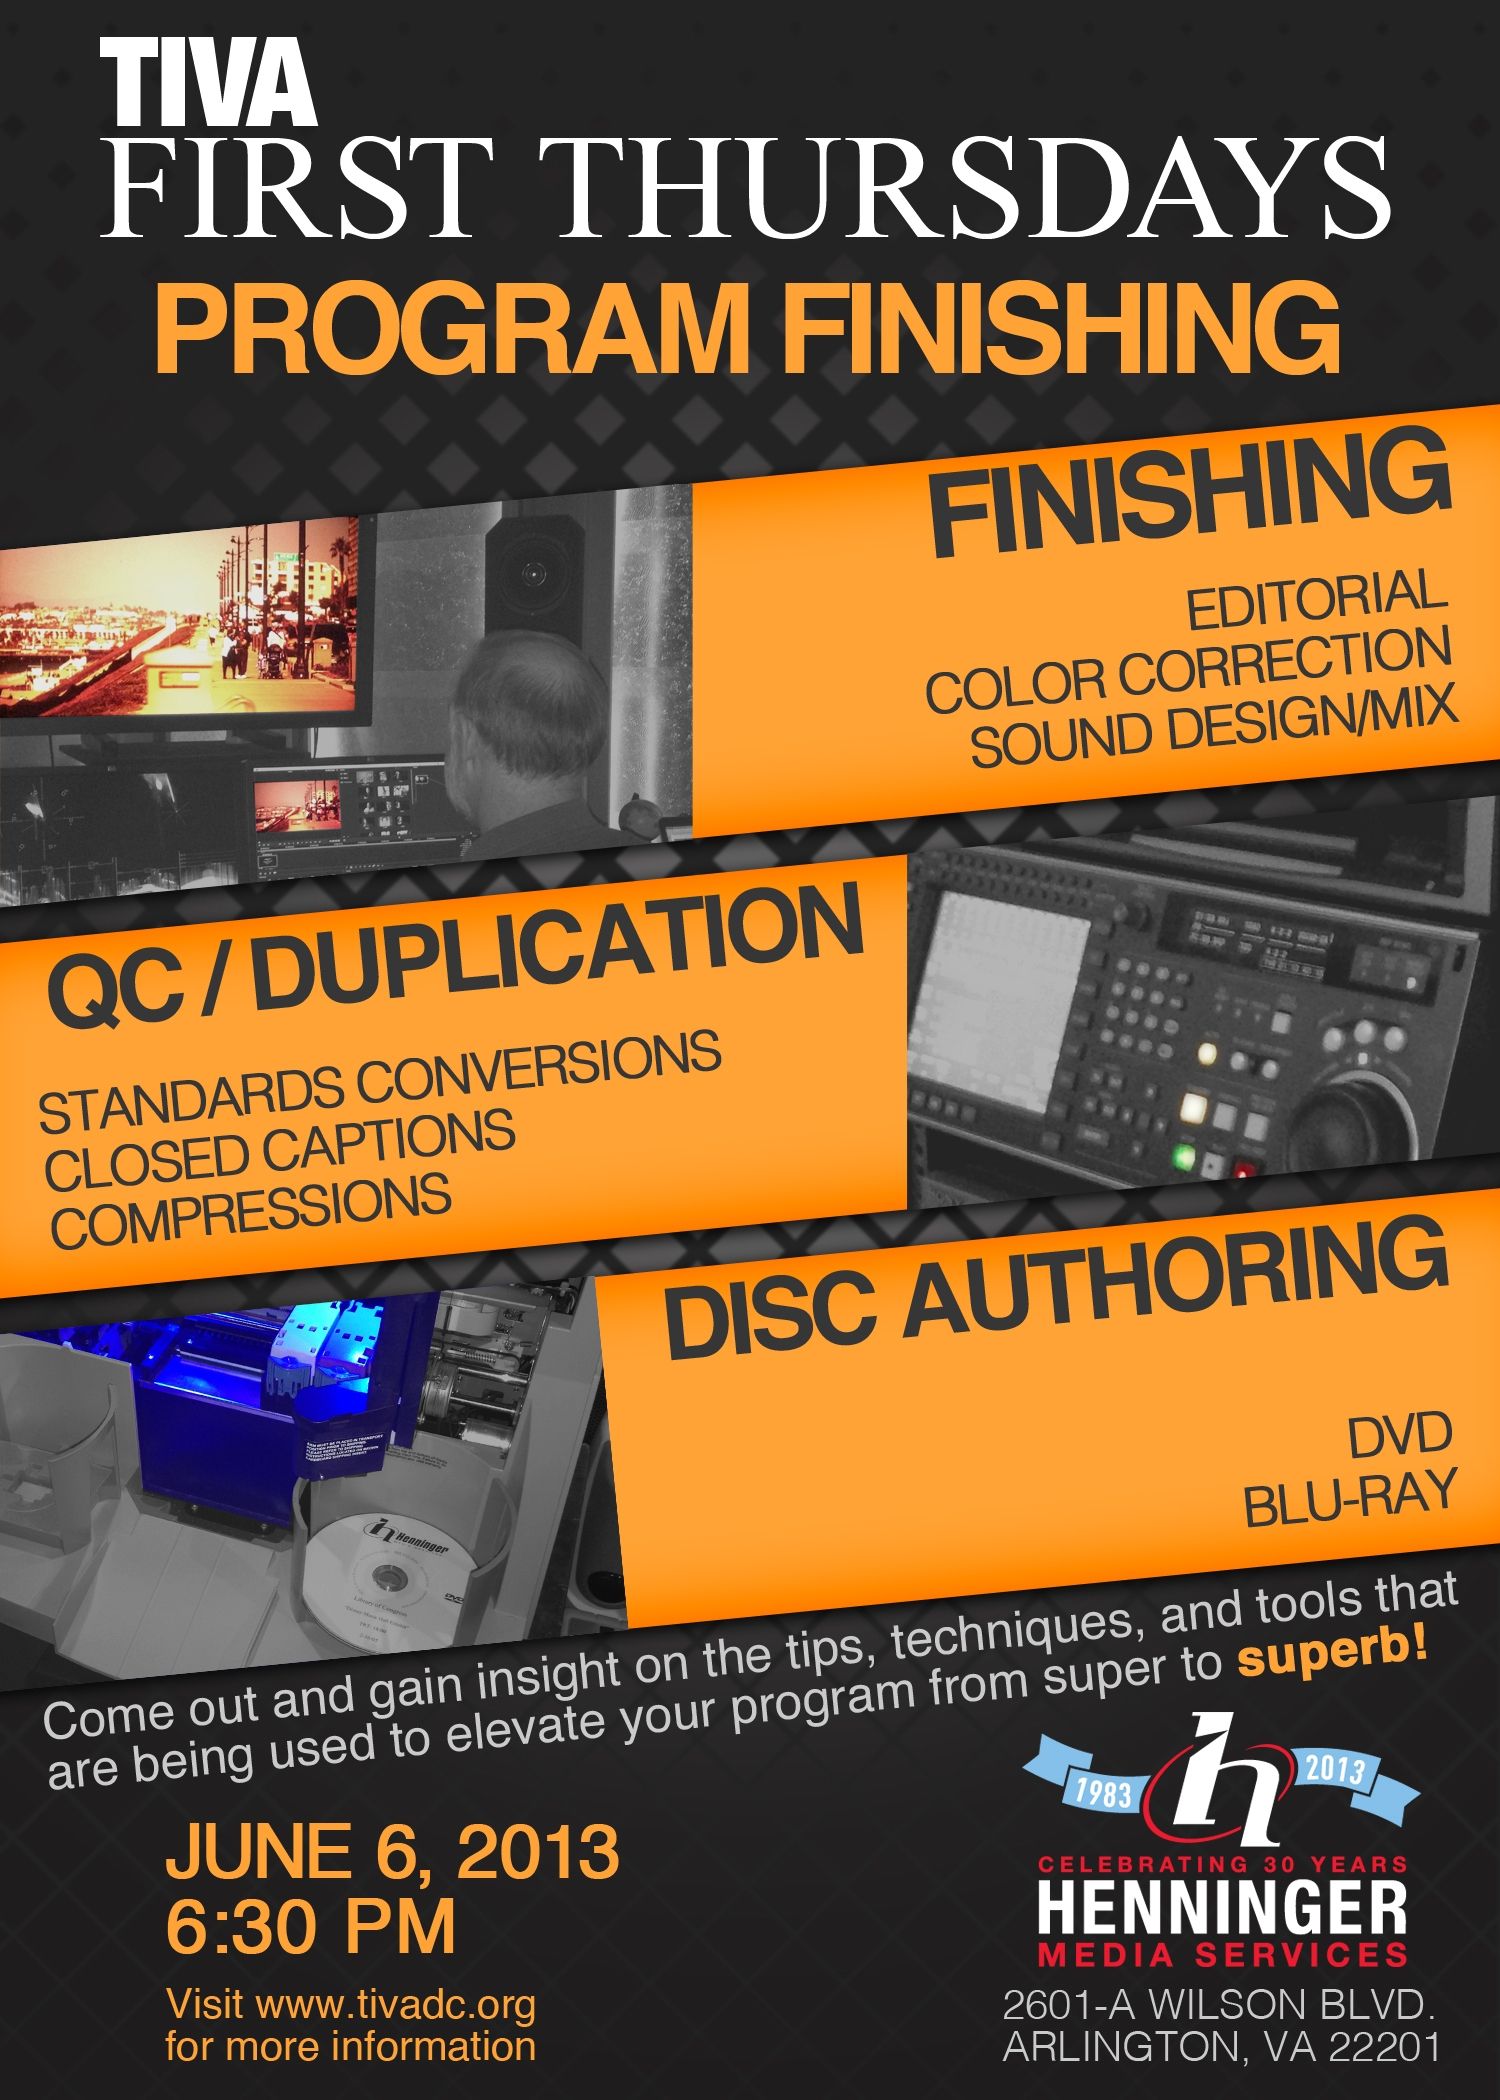
TIVA recently presented an incredibly informative panel at Henninger Media Services that was all about program finishing, a vital part of any film or video production. While a plethora of topics were discussed, they mainly centered around the areas of color correction, conversions, captioning, audio, delivery formats and disc authoring. The panel, consisting of Henninger employees, included Senior Editor Joe Bridgers, Colorist Loren Masheter, Audio Engineer Bob Bass, Core and Standard Conversions team member Chuck Adams, and Ari Zagnit, who talked about compression. It was a successful event that attracted members from all aspects of the video production community who packed the space and asked some great questions.
Editing And Frame Rates
One of the major topics that came up was frame rates, specifically 30 fps vs. 23.98 fps and which one was ultimately better depending on the project and how it’s going to be exhibited or shown to the public. Joe Bridgers shared his thoughts that 23.98 was better for projects that will be shown at festivals or places out of the country and out of the main stream light. 30 fps, on the other hand, is much more ideal for mainstream distribution and the panel highly advised filmmakers to give Henninger a call at the beginning of a project to help them get started. One of the best pieces of advice that came from the panel was when planning a project to start at the very end and proceed to work your way backwards. This will help you plan out which frame rates to use and what details your project needs so you can know what resources to have on hand. A great question came when someone asked what they should do if they have a mixed timeline (a timeline that has both types of frame rates in it). The answer was to figure out what your final frame rate version should be and use spot conversion to make sure your time line has one single frame rate.
Color Correction
One of the last and most vital steps in the editing process is color correction, which ensures that your work has the best look and colors possible. One thing that Loren Masheter stressed during the panel was to be very careful with your color lookup table. It’s a great tool for taking an image on a camera monitor and adding color correction elements so you and the client can get an idea of what the final image will look like. However, when you send it to a place like Henninger to be color corrected, you may want to make sure the table is not on as many color correctors use bandwidth to make adjustments. If the table is on, the bandwidth will have some trouble making adjustments since the original colors have been changed. So when you send in work to be color corrected, make sure it’s stripped down with the table off. As far as equipment goes, a series of monitors that the crew at Henninger really likes working with are the ones made by Flanders Scientific. While these can be fairly pricey, they are very much beloved for their quality and incredibly sharp displays. A stand-out piece of software that was praised for its ease of use and value was Blackmagic Design DaVinci Resolve Software.
Converting and Sound
One of Chuck Adams’ favorite series of converters that is extremely capable and efficient at converting frame rates are those made by Snell and Wilcox with one of his favorites being the Alchemist. One of the converting issues to look out for when working on video is when you try to up convert a 23.98 frame rate and the image becomes softer looking. Additionally, two frames can become blended together, creating a dissolve look in your film which would appear instead of the cut you’re trying to achieve. The Alchemist is incredibly capable of separating the two cuts so you don’t get that annoying blending effect.
The conversation then turned to Bob Bass who discussed audio mixing and the most ideal conditions for it. While you obviously want to have either a lavaliere or boom mic for audio, boom mics tend to be a bit better because they won’t pick up sounds such as clothing rustling the same way a lavaliere does. If you do end up with multiple audio sources on a track, leave them both on the track for the mixer. However, try to have the “talking heads” audio closer to the video tracks and the music further down. As far some good mics to use, one that came up was the Sennheiser MKH 416 Boom Mike, which was touted for its adaptability.
Disc Authoring
The evening ended on the subject of Disc Authoring and the best delivery practices to ensure a problem free ending to your project. The biggest tip was to have your work be as clean as possible before final compression so you don’t encounter any trouble. As far as formats go, Blu-ray was more adapt at handling compression but can be a bit more demanding since it’s made for higher quality work. DVDs on the other hand are considered a universal format and can handle a much greater variety of work. While 1080p will look fantastic on a DVD, you don’t have that high a resolution on DVD formats as it handles most of them quite well. A useful and simple tip is at the very beginning of the project, decide what format you’re going to be utilizing so you can plan everything accordingly. If you’re going to be sending out work online, the best way to send it is via an H264 Codec MP file since its a versatile codec that can be easily embedded.
While I’ve tried to cover as much of the panel as possible, there was just so much covered that I couldn’t get every little detail. But hopefully you were able to get a good tip or two from this recap.